Just a quick post today! I recently acquired a paper cutter, and I wanted to share how I trim PDFs using it. It took me a few tries to figure out a method that was both quick and effective, but I like the one I've settled on.
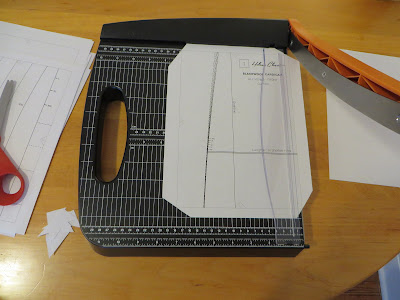
All you need is a pair of scissors, a paper trimmer, and your pattern. I'm cutting out the pattern for the Helen's Closet Blackwood Cardigan!
First, I trim off each of the corners, intersecting with the corner of the rectangle that needs to be cut out. It's like a tangent line, except with a rectangle in lieu of a circle.
Then, I set to work with my paper trimmer.
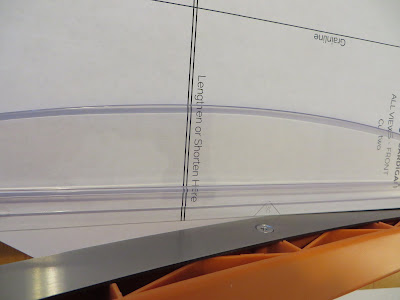
Align the cutting line on the pattern with the lower cutting edge of the paper trimmer. The beauty of cutting off the corners is that it makes aligning the cut line super easy! No eyeballing from an inch away. You may want a bright light so that you can see the cutting edge of the paper trimmer.
Once everything is aligned, just hold the paper in place and trim away!
I like to repeat this action for each side, even though a lot of PDFs recommend trimming only two sides. I find having every side trimmed off and taping sheets next to each other (instead of overlapping sheets) makes the pattern easier to fold up later.
Hope this was helpful!


